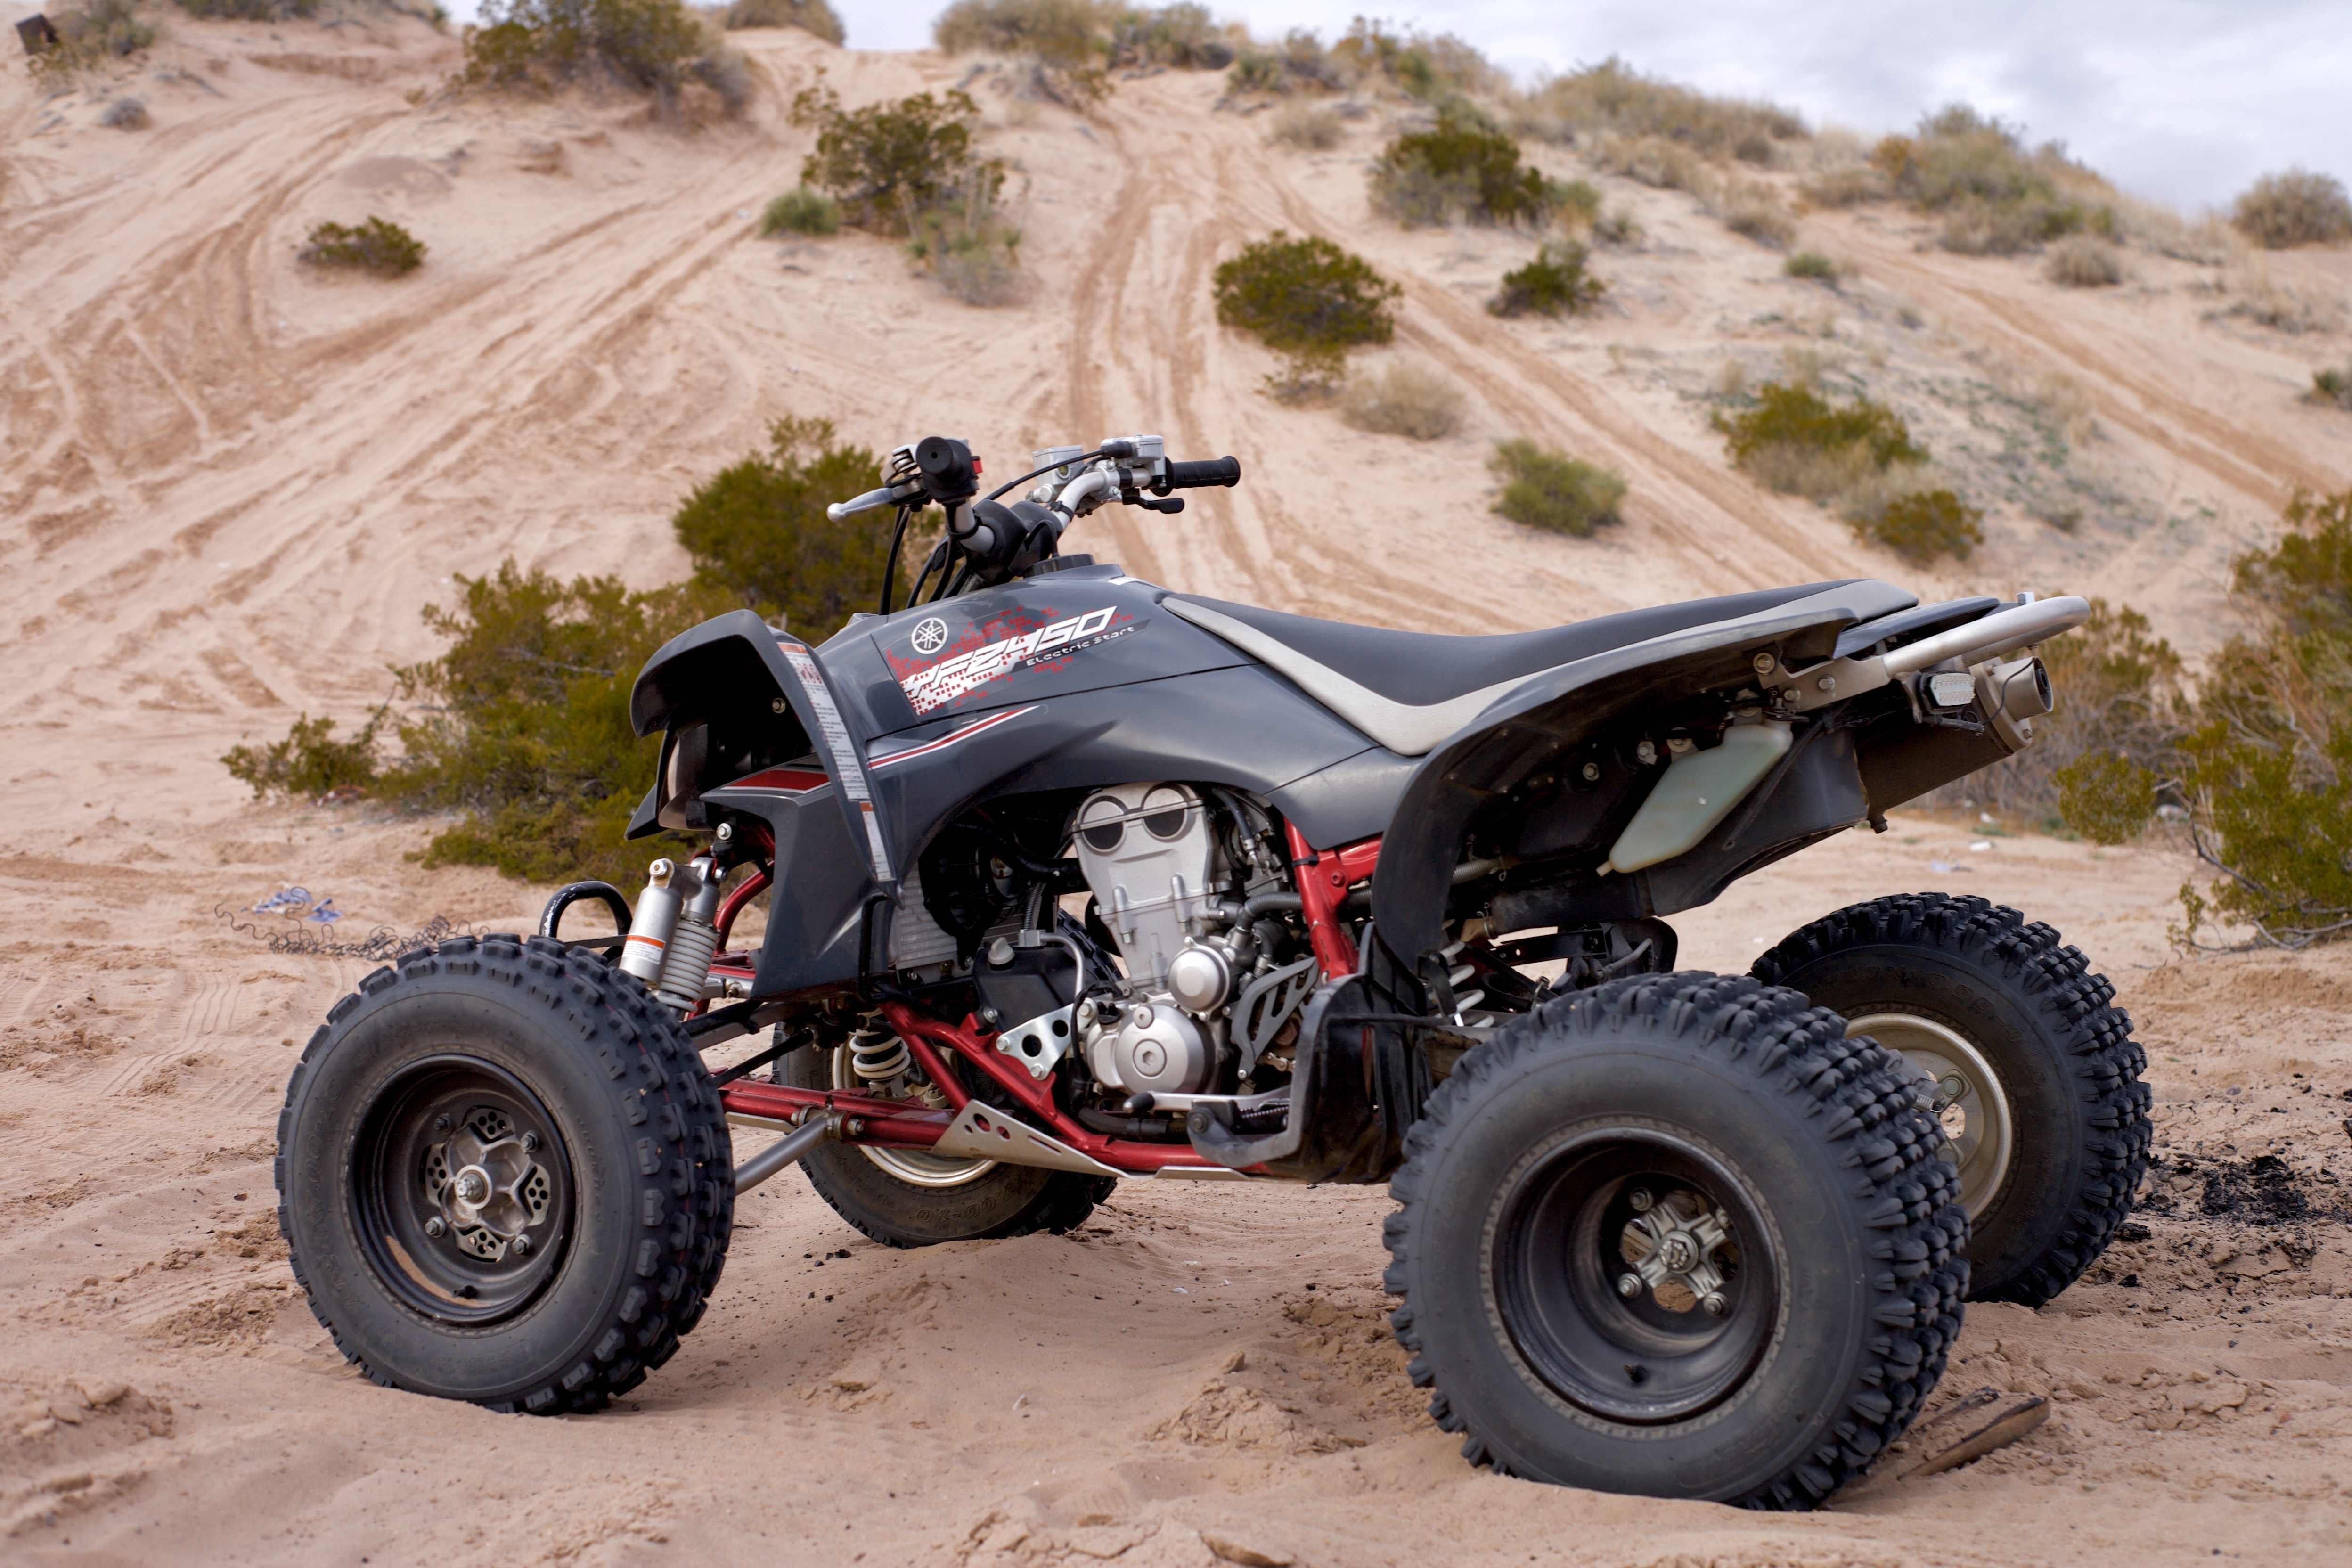
At a glance:
- Proper ATV tyre mounting ensures stability, traction, and safety on any terrain.
- Incorrect mounting can lead to uneven wear, poor handling, and dangerous blowouts.
- Different tyres, mud, sand, racing, or all-terrain, require specific mounting techniques.
- Avoid common mistakes like improper bead seating, overinflation, and dry mounting.
- A well-mounted tyre enhances performance, durability, and overall riding experience.
If you’re an off-road enthusiast, you understand your ATV’s performance is not just a function of horsepower; it’s also about stability, control, and traction. And all these start with a proper ATV tyre mounting. Faultly mounted tyres will cause uneven wear, compromise handling, and tyre blowouts, making for a thrilling ride turned deadly expedition. Regardless of whether you’re taking on challenging terrain, heavy mud, or sand ridges, correctly mounting your tyres is important for both performance and safety.
In this blog, we cover everything you need to know about ATV tyre mounting, what it is, how to do it correctly, and why it matters.
ATV Tyre Mounting: It’s More Than Installing a Tyre
ATV tyre mounting is the process of correctly assembling a tyre to a wheel or rim. While tyres on ordinary automobiles deal with pavement and occasional off-road use, ATV tyres need to withstand rigorous off-road conditions, from harsh trails to slippery mud.
When you correctly mount an ATV tyre, it sits well on the rim, which equals optimum traction, stability, and strength. When you mount it incorrectly, it leads to air loss, beads not seating properly, and instability.
How to Mount an ATV Tyre: Step-by-Step Guide
Mounting ATV tyres requires the correct tools, the right technique and a careful procedure. Do it professionally by following these steps:
Step 1: Gather Your Tools & Materials
Before you start, make sure that the following tools are available to you:
- Tyre irons or spoons
- Bead breaker
- Air compressor
- Tyre lubricant (soapy water will do)
- Valve stem tool
- Safety gloves and eye protection
Step 2: Removing the Old Tyre
Completely depressurise the tyre by removing the valve core. You can break the bead with a bead breaker or use steady pressure with your hands. Work the tyre irons along the edge of the rim and pull the tyre off the rim.
Step 3: Getting the Rim Ready
Check the rim for rust, cracks, or dents. Clean the rim so that it’s free of all debris for smooth fitting. Apply a thin layer of tyre lubricant to ease mounting.
Step 4: Fitting the New Tyre
Centre the tyre on the rim and ensure it is properly placed. Work the tyre onto the rim carefully with tyre irons, making sure to seat the bead before inflating.
Step 5: Bead Inflating and Sealing
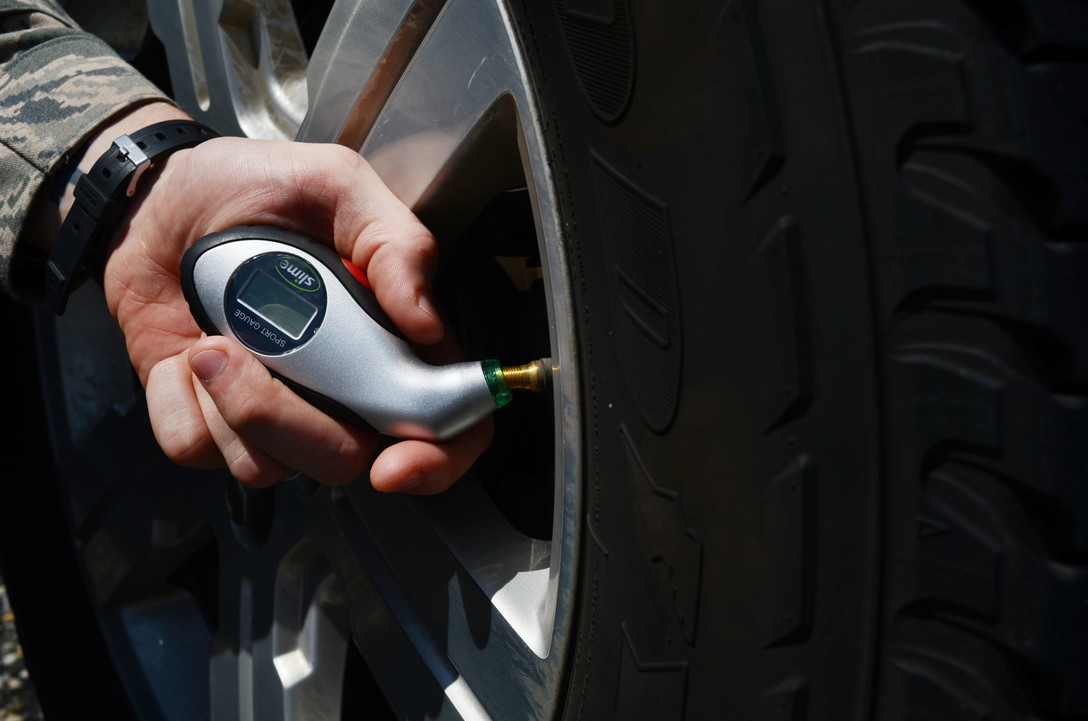
Inflate the tyre slowly, listening for the bead to seat. You know the bead is sealed if you hear a ‘pop’ during inflation. Use soapy water around the bead area to look for leaks. Adjust air pressure to your model’s recommended PSI.
Why Proper ATV Tyre Mounting is Important
Mounting ATV tyres correctly isn’t just about convenience; it’s about safety, performance, and saving money. When done right, it offers a smoother, more stable ride and helps prevent accidents or premature tyre damage.
Here’s why proper mounting is essential for all ATV drivers.
Safety: Prevent Hazardous Blowouts
Poor mounting of tyres can cause air loss, bead shift, and immediate blowout, especially at high speed. Poor seating of a tyre will sag under load, resulting in unstable handling or complete tyre failure. Adhering to the correct mounting procedure and inspecting bead seating reduces such risks, keeping you and your ATV away from danger.
Performance: Get the Best Grip & Handling
Tyre seating can improve traction, response, and ride quality over rocks, up inclines, or across dunes at speed. Proper bead seating ensures even pressure distribution for maximum grip on any surface. This leads to better manoeuvrability, stability, and overall efficiency of the ATV.
Durability: Make Your Tyres Last Longer
Incorrect mounting can cause uneven and premature wear as well as costly replacement. Correct mounting promotes even tread wear and reduces rim stress that leads to cracking or deformation, extending the lifespan of your tyres and rims. This results in less replacement, fewer maintenance costs, and more time off-road with less tyre trouble.
Common Mistakes to Avoid
Even experts can make mistakes when mounting ATV tyres. Avoiding these common errors will keep your tyres in a better condition.
Lack of Lubrication: Dry Mounting Problems
Not lubricating the tyre bead before mounting will lead to high friction and cumbersome seating of the tyre. Dry mounting can also damage the bead, which will lead to air leaks and faulty sealing. Always lubricate the tyre with a good-quality tyre lubricant to ensure easy and secure mounting.
Incorrect Bead Seating: Air Leaks and Instability
If the bead does not sit properly on the rim, it causes air leaks, reducing stability and risking sudden deflation. Seating beads improperly also undermines traction and handling. The characteristic ‘pop’ noise when inflating the tyre may be an indicator of proper bead seating. You may use soap water around the bead area to check for any leaks before riding on the trails.
Ignoring Rim Damage: Silent Failure
Mounting a new tyre on a battered rim may destroy the entire setup. Even minor cracks, dents, or rust patches on the rim will cause air leaks, improper bead seating, and even tyre blowouts. Carefully inspect the rim before putting on a new tyre, and replace or fix any damaged components to give a solid and durable fit.
Over or Under-Inflation: Pressure-Related Issues
Incorrect tyre pressure will have a dramatic impact on performance and safety. Over-inflation will harden tyres to the point where they lose traction and increase blowout risk over rough ground. Under-inflated tyres cause poor handling, too much flexing, and wear and tear. Always check and adjust the air pressure in your ATV tyres to the PSI recommended by the manufacturer.
Ignoring the Proper Mounting Procedure for Your Tyre Type
Manufacturers do not create all ATV tyres equally. The tyre you choose will dictate how it must be mounted and maintained to provide the best performance and life. Different terrain demands different tread patterns, compounds, and inflation pressures, so following the proper mounting process for your particular tyre type is critical for safety and durability.
Proper ATV tyre mounting isn’t merely a technical procedure; it’s a fundamental recipe for safety, performance, and tyre durability. Following best practices and avoiding hidden pitfalls will enhance your off-road experience and make the most of your tyres.
Ready to hit the trails? Visit Oceanic Direct today for the best ATV tyres in Australia to keep your ride running smoothly and securely. Ride safe!

